Shahrul Izzat
Architecture Portfolio
COMPUTER APPLICATIONS
Compilation of projects that I have done during this semester
PROJECT 1: MODELLING OF AN ARCHITECTURAL DESIGN
In project 1, I was asked to use the same project in my Architectural Design Studio 2's final model as my reference. By using software like AutoCAD, 3DS Max and Rhinoceros, I have to produce a 3D model based on it.
The objectives of this project are:
-
To understand and execute the functions of Standard Primitives, Splines and Modifiers
-
To understand and utilise polygon modelling and NURBS modelling in producing the 3D models.
1) I started my project by scanning my model's floor plan from the drawing that I made for Architectural Design Studio 2's presentation.


First Floor Plan
Ground Floor Plan
2) Using Rhinoceros 5 software, I drag those pictures into this software. After that I traced it according the lines.


Ground Floor Plan
First Floor Plan
3) From the ground floor plan, i extruded the walls until I got the 3D shape of my model.


Ground Floor: Elevation View
Ground Floor: Perspective View
4) Next, I extruded the first floor plan.


First Floor: Elevation View
First Floor: Perspective View
5) Then, I joined both floors together to get my real shape of my models.


Before
After
6) After that, I saved the file .3DS format. Then, I exported it to the 3DS Max software for the rendering process. for rendering, I used some materials that suitable for my models. I rendered it into a 800x600 resolution file.
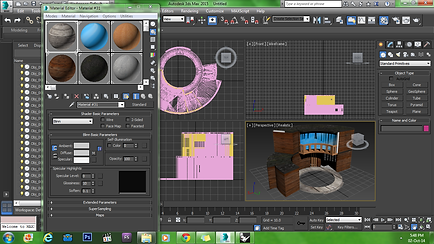

Adding the materials
Rendering Process
7) Final products and comparison to my real model in Architectural Design Studio 2.
 Roof Plan |
|---|
 Left Elevation |
 Front Elevation |
 Perspective View |
 Perspective View |
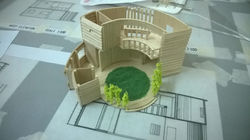 Real Model |
From this project, I learnt how to produce a 3D model using 3DS Max and Rhinoceros. This is my first time using both software. I learnt that rhinoceros software is easier to use compared to 3DS Max. I also learnt how to record my Work In Progress (WIP) as my progressive evidence of the working process.
PROJECT 2: STILL RENDERING WITH MATERIAL, LIGHTS, CAMERA VIEWS WITH SITE CONTEXT
In project 2, this project is divided into 2 parts, 2(a) and 2(b). For project 2(a), I have to produce the exterior renderings while for project 2(b), I have to produce the interior renderings.
The objectives of this project are:
-
able to import .dwg file into 3DS Max
-
to manage the 3D scene using layers
-
to create materials for 3D objects
-
to use lights in 3DS Max for exterior and interior rendering
-
to set up good photographic compositions using camera in 3DS Max for final rendering
-
to understand and execute the appropriate rendering settings
-
to enhance the visual outcome of the renderings using post-production tools
For Project 2(a)
1) I started the project by producing a site context for my model using the Rhinoceros software.


1) The Contour was drawn using the lines
2) Then, it was converted into a planar surface

3) The surface was extruded according to their height
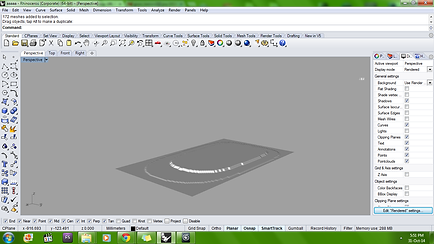
4) The contour was looked nicer when the drape function was used
2) Then, the model was combined with the site context before it was exported to the 3DS Max software.

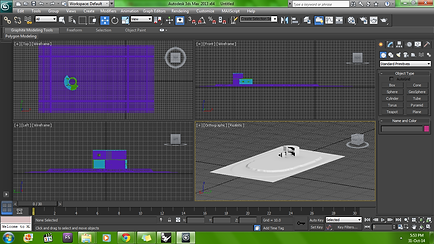
1) Model with site context
2) Model with site context in 3DS Max
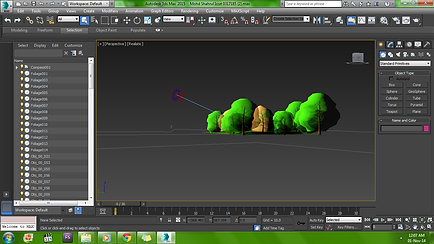
3) Then, the materials were applied into the model and site context. It was followed by the trees.


Materials were applied
Trees were applied
4) The daylight was set up.
The Sun's direction
5) The camera for bird's eye view and eye view level were set up.


Camera views
Camera views
6) The render processes were begun.

Rendering
7) Final products

Eye View Level

Bird's View Level
For Project 2(b)
1) The furnitures were imported into the 3ds max previous file. I downloaded the furnitures from the internet to be used in my model
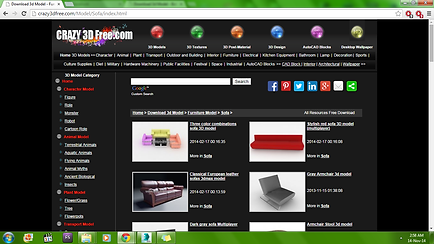
Website for the furnitures
2) Space 1 with the furnitures and lightings

Space 1
3) Space 2 with the furnitures and lightings

Space 2
3) Final product after rendering process

Space 1
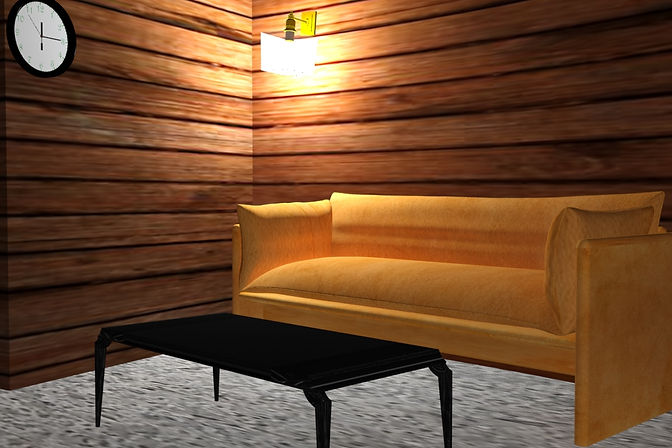
Space 2
PROJECT 3: ANIMATION OF THE COMPLETED 3D SCENE
In project 3, I had to produce a photorealistic animation renders from the projects that I had done before.
The objectives of this project are:
-
to continue from project 2, the completed scene is animated
-
to set up camera paths for animation rendering
-
to allow students to explore their imagination, inventiveness and story telling when creating animation.
Here are some screenshot of camera paths that I set up in this projects


Part 1
Part 2

Part 3

Part 4

Part 5

Part 6
Final product after rendering process and post-editing process